
Quick Summary
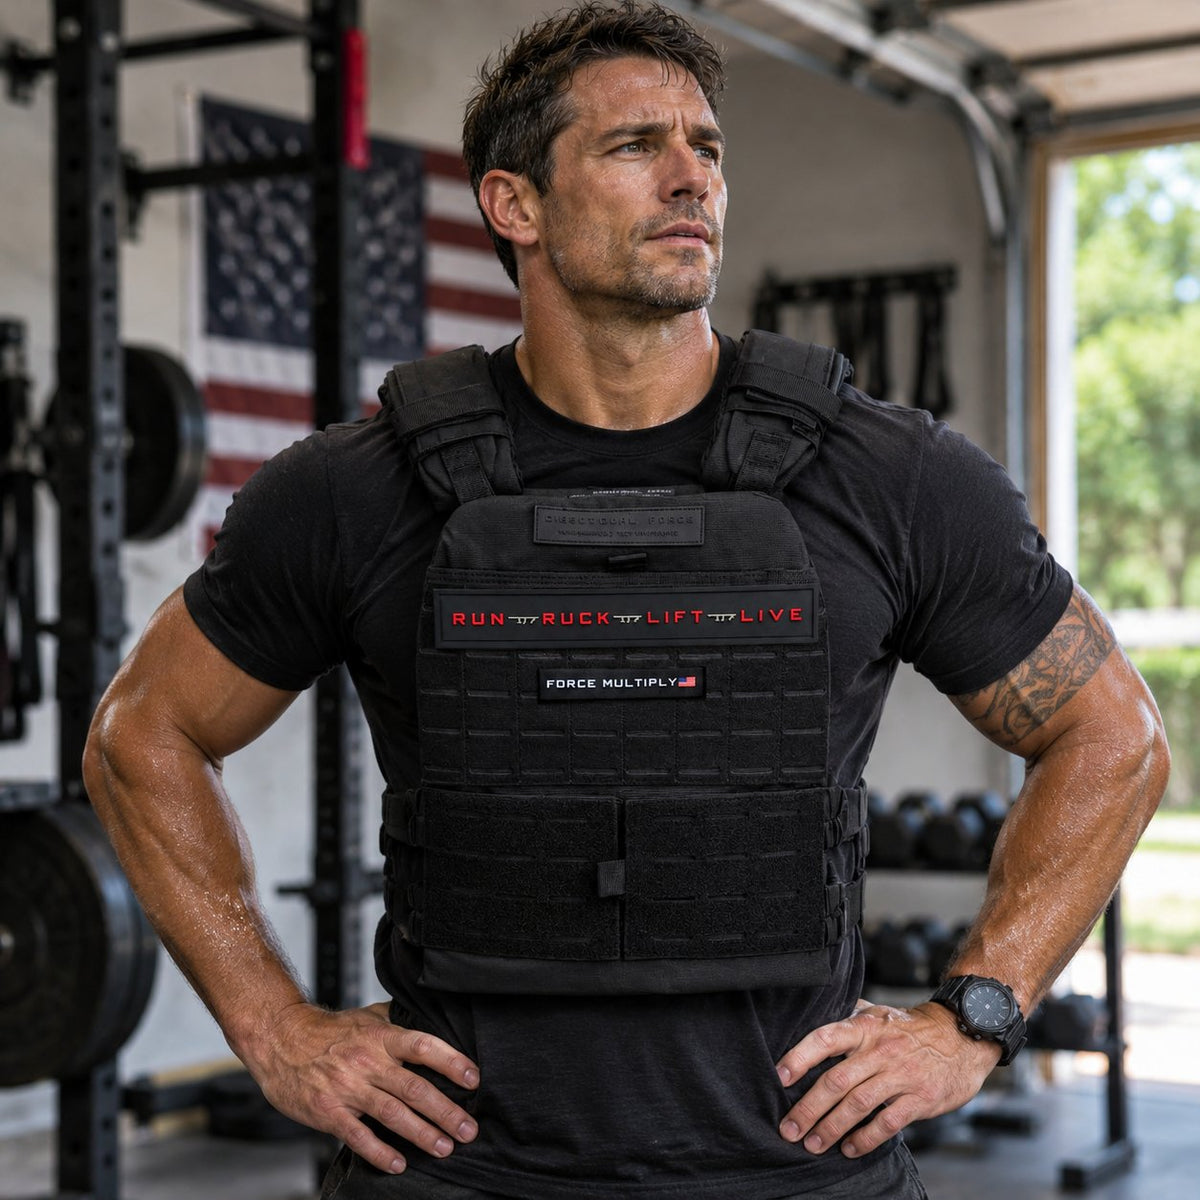
Train with a plate carrier at home by starting with a light load and clean form, then adding weight only when reps feel controlled. Fit the carrier high and snug on your chest, follow a three-day routine of squats, lunges, push-ups, and planks, and warm up before each session.
- Start with the lightest load you own and focus on clean form.
- Keep the carrier high on the chest and tighten straps so it stays still.
- Train three days per week, 30 to 45 minutes per session with a rest day between.
- Add reps first, then increase weight in small steps.
- Take a deload week every fourth week and drop load if joint pain lasts over 24 hours.
Table of Contents
- Why Train With a Plate Carrier at Home
- Step 1: Choose the Right Starting Weight
- Step 2: How to Adjust Plate Carrier for Fitness
- Step 3: Build a Plate Carrier Workout Routine
- Step 4: Follow Plate Carrier Training Safety Tips
- Step 5: Use Rucking to Build Endurance
- Step 6: Maintain and Clean Your Gear
- Step 7: Book Your First Week of Training Sessions
- Frequently Asked Questions
Why Train With a Plate Carrier at Home
Last Updated: November 12, 2026
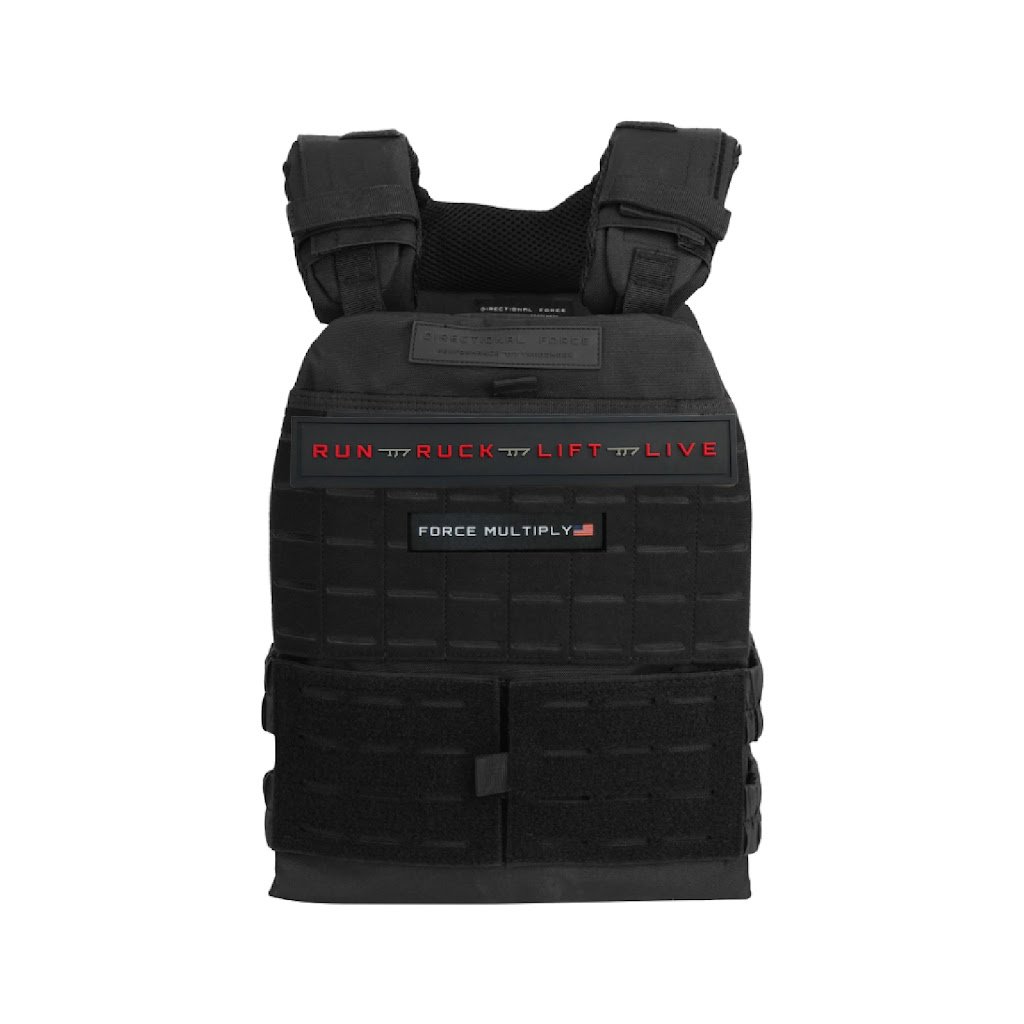
Training with a plate carrier at home turns a basic workout into a loaded, functional session.
Home training with a plate carrier means no gym commute, your own schedule, and full control of the load.
Load is where most people go wrong. Too much weight too soon leads to poor form, and poor form is what hurts joints and muscles.
- Builds lower-body and core strength with bodyweight movements
- Trains posture and stability under load
- Needs little space and no gym membership
Step 1: Choose the Right Starting Weight
Start with a light load you can move through with good form for every rep.
The Zen-Cool Cooling Hydrogel Weight Vest comes in 8, 12, and 16 lb options, which suits a first vest for daily walks or bodyweight work.
A simple rule: if you can finish your last rep with clean form and still have a little left, the weight is right.
- Start with the lightest option you own
- Track form, not just reps
- Increase weight in small steps, not big jumps
Here is a quick reference for the starting-weight guidance covered above.
Item |
Value |
Note |
|---|---|---|
Zen-Cool vest options |
8, 12, 16 lb |
Suits a first vest for daily walks or bodyweight work |
Starting approach |
Light load |
Add a small share of bodyweight to focus on technique |
Load is right when |
Clean form on last rep |
You still have a little left in reserve |
Load is too heavy when |
Arched back, knees caving, shoulder strain |
Reduce weight before continuing |
Progression |
Small steps |
Avoid big jumps in weight |
Step 2: How to Adjust Plate Carrier for Fitness
A plate carrier only works well when it fits snugly and sits in the right place.
For training, the carrier should stay in place during squats, lunges, and push-ups. If it shifts forward or bounces, tighten the straps and waist fastener.
The Centurion Dual-Load Dominator Pack includes a weight vest with an adjustable Velcro waist system and padded shoulder straps.
- Keep the carrier high on the chest, not hanging on the stomach
- Tighten straps until the vest stays still during movement, and browse weight vest plates if you need replacement or additional plates to fit your vest.
- Recheck the fit after your first few sets
Step 3: Build a Plate Carrier Workout Routine
A solid routine pairs a few key movements and repeats them with steady progress. Begin with three sessions per week, with a rest day between them, each running 30 to 45 minutes including a warm-up and cool-down.
Your routine can include squats, lunges, push-ups, step-ups, and planks, covering the whole frame. You can also add a short walk or ruck at the end of a session.
A Concrete Three-Day Template
Instead of guessing which exercises to pair, use a template that covers the whole body across the week. Here is a starting structure for someone new to loaded training:
Day 1, Lower body and core
- Bodyweight squats: 3 sets of 10
- Reverse lunges: 3 sets of 8 per leg
- Glute bridges: 3 sets of 12
Day 2, Upper body and carry
- Push-ups: 3 sets of 8 to 12
- Step-ups: 3 sets of 8 per leg
- Bear crawl or farmer carry with the carrier on: 3 rounds of 30 seconds
Day 3, Full body and endurance
- Bodyweight squats: 2 sets of 12
- Push-ups: 2 sets of 10
- Reverse lunges: 2 sets of 10 per leg
Run this for three weeks before changing anything. The goal is clean movement under light load, not fatigue.
Progressive Overload Without Overloading Your Joints
Progressive overload means slowly increasing demand over time by adding reps, sets, tempo, or a small amount of weight. Change only one thing at a time so your joints can adapt.
A common approach is to add one or two reps per week until you reach the top of your rep range, then add a small amount of weight and start again at the lower end. This builds strength while keeping joint stress manageable.
Watch for joint pain. Sharp pain is a sign to reduce load, not to push harder. Mild muscle fatigue is normal, but joint pain should not be ignored.
Track These Four Metrics Instead of Guessing
A simple training log helps you progress with more consistency than relying on feel alone. Record four numbers after each session:
- Total reps at working load: the sum of reps across your main movements. This is your volume number.
- Load used: the weight of the plates or vest for that session.
- Session RPE (rate of perceived exertion) on a 1 to 10 scale: how hard the session felt overall. A session at 7 or 8 is productive; a session at 9 or 10 every time means you are overreaching.
When to Add Load vs. When to Add Reps
- If you can complete all sets at the top of your rep range with clean form and a session RPE of 7 or lower, add reps first.
- Once you are at the top of the rep range on every set for two sessions in a row, add the smallest load increment you have.
- If your joint check score rises after adding load, stay at that load for another week before adding again.
You can explore more options through the complete guide to push-ups with a weighted vest, which covers how added load changes these movements.
Step 4: Follow Plate Carrier Training Safety Tips
Safety with a plate carrier is not just about lifting form. The added load changes how your joints absorb force, how your spine stabilizes, and how much range of motion you have. A few specific protocols make the difference between productive loading and nagging injury.
Warm-Up Protocol for Loaded Training
A generic five-minute warm-up is not enough when you are about to add 10 to 40 pounds to your frame.
Use this sequence before every plate carrier session:
- Ankle and calf prep (2 minutes): 20 calf raises, 10 ankle circles per side, and 10 slow bodyweight squats with a pause at the bottom.
- Hip openers (2 minutes): 10 reverse lunges per leg, 10 lateral lunges per side, and 10 glute bridges.
- Thoracic and shoulder prep (2 minutes): 10 arm circles each direction, 10 band pull-aparts or towel pull-aparts, and 10 wall slides.
Do this warm-up before you put the carrier on. Once the carrier is on, start with one easy set of your first exercise at half your planned reps before moving to working sets.
Skipping the thoracic and shoulder prep can leave your upper back unready to stabilize under the added load of a carrier.
Cool-Down and Joint-Health Protocol
Cool-down is where most home trainees cut corners, but it is also where you protect your knees and lower back from the cumulative stress of loaded training.
- Decompress the spine (2 minutes): lie on your back with knees bent, then gently rock your knees side to side. Follow with a 30-second child's pose.
- Hip flexor and quad stretch (2 minutes): 30 seconds per side in a half-kneeling hip flexor stretch, then 30 seconds per side in a standing quad stretch.
- Calf and ankle stretch (1 minute): 30 seconds per side against a wall.
Load Management Rules That Protect Joints
- Keep total loaded training time under 45 minutes per session when you are starting out. Joint stress accumulates with time under load, not just with the amount of weight.
- Do not add load and volume in the same week. If you increase weight, keep reps the same or slightly lower for that week.
- Take a deload week every fourth week: reduce load by 30 to 40 percent or cut volume in half.
Form Checks Specific to Loaded Training
- Squats and lunges: the carrier should not pull your torso forward. If your chest drops as you descend, the load is too heavy or your core is not braced.
- Push-ups: keep your hips level with your shoulders. A carrier makes it easy to sag at the hips without noticing.
- Planks: if your lower back starts to arch, end the hold. A loaded plank with an arched back puts shear force on the lumbar spine.
Watch out: a loose carrier that shifts during jumps or lunges can cause a fall or a rolled ankle, so tighten it fully before any dynamic move.
Step 5: Use Rucking to Build Endurance
Rucking means walking with a loaded pack or carrier. It builds cardiovascular endurance and leg strength with less impact than running.
Start with 1 to 2 miles at a comfortable pace, keeping your posture upright and your steps even. Add distance or load slowly over several weeks.
Rucking pairs well with your other sessions. Use one or two rucks per week, and keep the load light enough that you can talk while you walk.
- Start with 1 to 2 miles at a steady pace
- Keep the load light enough to hold conversation
- Increase distance before increasing weight
Step 6: Maintain and Clean Your Gear
Good gear lasts longer with simple care.
Check your gear every few weeks for wear on straps, stitching, and Velcro, and replace worn parts before they fail during training.
Clean the carrier according to the product care instructions. Remove any plates first, then spot-clean the fabric with mild soap and water. Let the carrier dry completely before you put the plates back in.
- Wipe down after each session
- Air dry fully before storing
- Inspect straps and stitching regularly
Step 7: Book Your First Week of Training Sessions
Plan your first week before you begin. Pick three training days, set a time for each session, and keep your rest days on the calendar so the routine sticks.
Your first week should focus on learning the movements. Use your lightest load, complete your warm-up, and finish each session with a cool-down walk and light stretching.
Ready to build your routine? Book your first training week with Directional Force and start with a load that fits your level. Explore the full product lineup, including heavier plates for when you're ready to progress, and compare options before you commit.

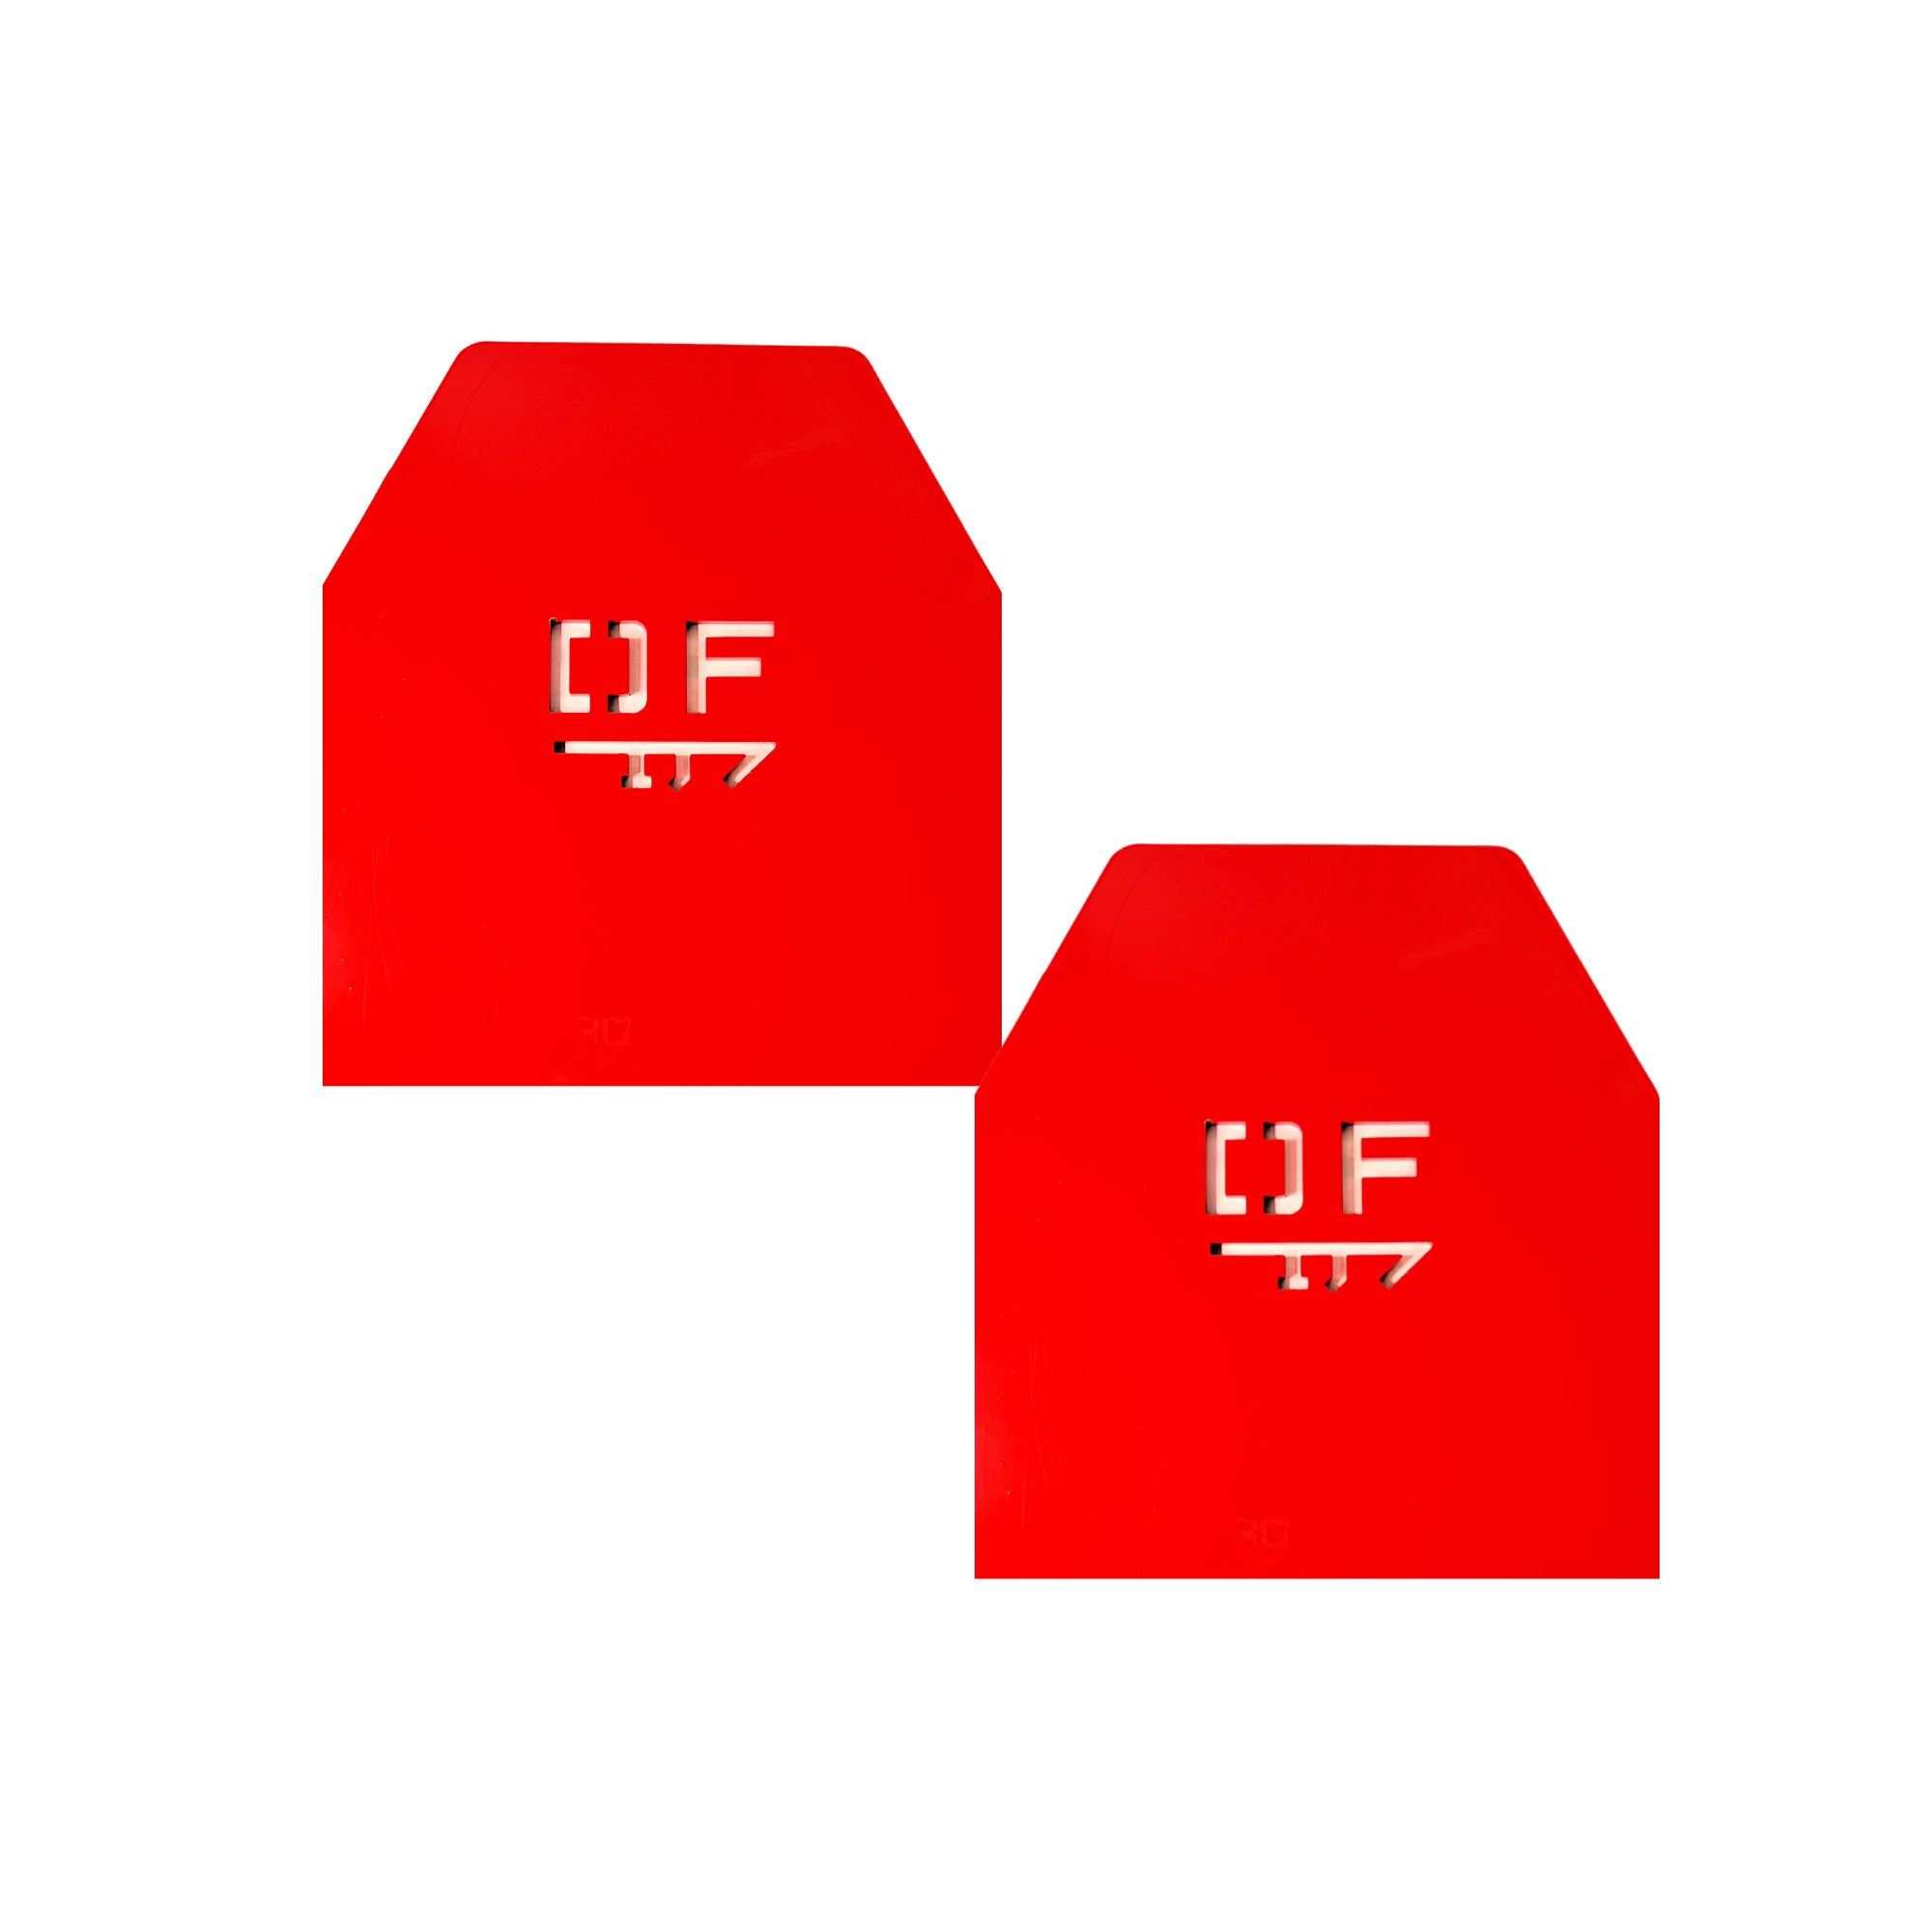
Get started with Directional Force and build a home training routine that grows with you, with gear designed to hold up to serious work.
Frequently Asked Questions
Is running with a plate carrier good for your joints?
Running with a plate carrier adds load to the knees, hips and ankles, so it is not automatically good for your joints. Beginners may find lower-impact options such as cycling, rowing or swimming easier on the joints before adding running. If you do run, start with a light load, shorter distances and firm footwear, and stop if you feel joint pain rather than muscle fatigue.
How much weight should I start with in my plate carrier?
Start with the carrier and plates at a weight you can wear comfortably through a full workout without changing your posture. Many beginners start with light or empty plate pockets and add weight gradually over several weeks. Progress only when your form stays clean across all planned sets, and avoid large jumps in load between sessions.
What is the 3-2-1 rule for working out?
The 3-2-1 rule is a simple pacing framework: three sessions per week, two focused strength or conditioning movements, and one recovery-focused activity. Applied to plate carrier training at home, it keeps weekly load manageable and gives your joints and muscles time to adapt. Use it as a starting structure, then adjust volume based on how you recover between sessions.
How often should I train with a plate carrier to avoid injury?
Most people starting out should train with a plate carrier two to three times per week, with at least one rest day between sessions. Increase frequency only after several weeks of pain-free training. Watch for persistent soreness in the shoulders, neck or knees, as these are common signs that load or frequency has risen too quickly.
