

Quick Summary
To start running with a weighted vest safely, begin at about 3% to 5% of your body weight and run only two short sessions a week. Increase the load by 2 to 5 pounds every few weeks, and only after your form holds and your joints feel fine.
- Start at 3% of body weight if you are new to running or returning from a break.
- A 150-pound runner starting at 5% would use a vest of about 7.5 pounds.
- Begin with 5-minute run intervals alternated with 2-minute walks in week one.
- Walk with the vest for 20 to 30 minutes several times a week before adding running.
- Stop and remove the vest if you feel sharp joint pain or altered stride.
Table of Contents
- Why Runners Add Weight to Their Training
- Choosing a Starting Load for Your Body Weight
- Selecting a Vest That Fits and Stays Put
- Walking and Rucking Before You Run
- A Beginner Weighted Vest Running Workout Plan
- How Often to Run With a Weighted Vest
- Readiness Checks, Warning Signs, and When to Stop
- Start Your Vest Training With the Right Gear
- Frequently Asked Questions
How to Start Running With a Weighted Vest Safely
Last Updated: October 28, 2026
Why Runners Add Weight to Their Training
Adding load to running is one of the oldest tools in endurance training, and a weighted vest is the simplest way to do it. Runner's World guidance on transitioning from walking to running with added load describes weighted training as a gradual progression rather than a shortcut, which is the right frame for anyone starting out.
Weight changes the work your legs and trunk do with every stride. The added resistance builds strength and endurance, but it also raises joint stress, so the progression has to be deliberate. Runners who skip that step tend to pay for it in soreness, altered form, or injury.
The goal is controlled overload, not maximum load. A vest that is too heavy, worn too long, or fitted poorly can push your form apart before your muscles adapt.
Choosing a Starting Load for Your Body Weight
The most common starting point is a load equal to about 5% of body weight. Mass General Brigham's general guidance on weighted vest usage supports keeping early loads light and adding weight only as tolerance builds. Newer guidance from 2026 suggests a wider beginner range of 3% to 10% of body weight, but the range only helps if you know where inside it you belong.
Use body weight as the anchor, then adjust for your running history. A simple way to think about it:
- New to running or returning from a break: start at 3% of body weight. The goal in the first month is to teach your stride to carry load, not to train hard.
- Consistent runner with no current joint complaints: 5% is a reasonable default. Most practitioners find this is heavy enough to feel the vest but light enough to preserve cadence.
- Experienced runner with a long base and no injury history: you can begin at 5% and consider 7% after two to three pain-free weeks, but only if form holds at the lower load first.
- Any current or recent joint issue (knees, ankles, lower back): stay at the bottom of the range or delay weighted running until symptoms resolve. A vest amplifies whatever your gait is already doing.
Do the math once so you are not guessing mid-training. If you weigh 150 pounds, 3% is about 4.5 pounds, 5% is 7.5 pounds, and 10% is 15 pounds. Most adjustable vests jump in 1- to 2.5-pound increments, so pick the plate combination closest to your target rather than the next size up.
Progress in small steps. Adding 2 to 5 pounds every few weeks, as your strength improves, is a conservative and workable pace. A useful rule: do not add load and volume in the same week. Change one variable at a time so you can tell what caused any soreness or form change.
Selecting a Vest That Fits and Stays Put
Fit matters as much as weight. A vest that shifts or bounces changes your stride and adds unnecessary strain. Look for a snug fit with even weight distribution across the torso.
For a comparison of tested options focused on stability, see our guide to 5 best weighted vests for pull-ups.
Check the vest before every session:
- Straps are snug without restricting breathing
- Weight sits high and centered on the chest and back
- Nothing bounces or rubs during a short test jog
- Weight plates are secured and cannot shift
Walking and Rucking Before You Run
Many coaches recommend building a base with walking or rucking before adding running. A ruck carries load while you walk, which lets your body adapt to the weight with lower impact. Community consensus suggests moving to running only after a ruck feels comfortable at roughly 10% to 15% of body weight.
For a beginner distance guide, read how to start rucking, and for a fitness-focused introduction, see how to start rucking for fitness.
Walk with the vest for 20 to 30 minutes several times a week before you add any running. This gives your joints and tendons time to handle the load.
A Beginner Weighted Vest Running Workout Plan
A simple first month might look like this:
| Week | Weight | Run Pattern | Frequency |
|---|---|---|---|
| 1 | 3-5% body weight | 5 min run, 2 min walk, repeat 3 times | 2 sessions |
| 2 | 3-5% body weight | 8 min run, 2 min walk, repeat 3 times | 2 sessions |
| 3 | 5% body weight | 10 min run, 2 min walk, repeat 2 times | 2 sessions |
| 4 | 5-7% body weight | 15 min continuous or intervals | 2 sessions |
Keep each run easy enough to hold a conversation. If your form breaks down, stop the run and walk. Form matters more than pace or duration.
The table is a starting point, not a contract. Use these criteria to decide whether to repeat a week, move forward, or back off:
- Repeat the week if you finished both sessions but felt lingering soreness beyond 24 hours, or if your stride felt choppy in the final interval.
- Move to the next week only if both sessions were completed with steady form, no sharp joint pain, and you felt fresh the following day.
- Drop back a week if you notice altered gait, localized joint pain, or soreness that lasts more than two days. Repeat the previous week before trying to advance again.
- Hold the load, add time if the weight feels manageable but the run intervals feel hard. Duration is the safer variable to increase first.
A few practical notes that make the plan work in real life:
- Run the weighted sessions on non-consecutive days, and keep your other runs unweighted during the first month.
- Warm up with 5 minutes of brisk walking without the vest, then put it on. Cold joints under load are a common cause of early soreness.
- Use the same loop or route for the first few weeks so you can compare how the load feels session to session.
- If you miss a week, do not skip ahead. Repeat the last completed week.
After week 4, the next progression is usually one of three moves: add 2 to 5 pounds while holding the run pattern, extend the continuous run by 5 minutes, or add a third weekly session. Pick one, hold it for two weeks, and reassess using the same criteria above.
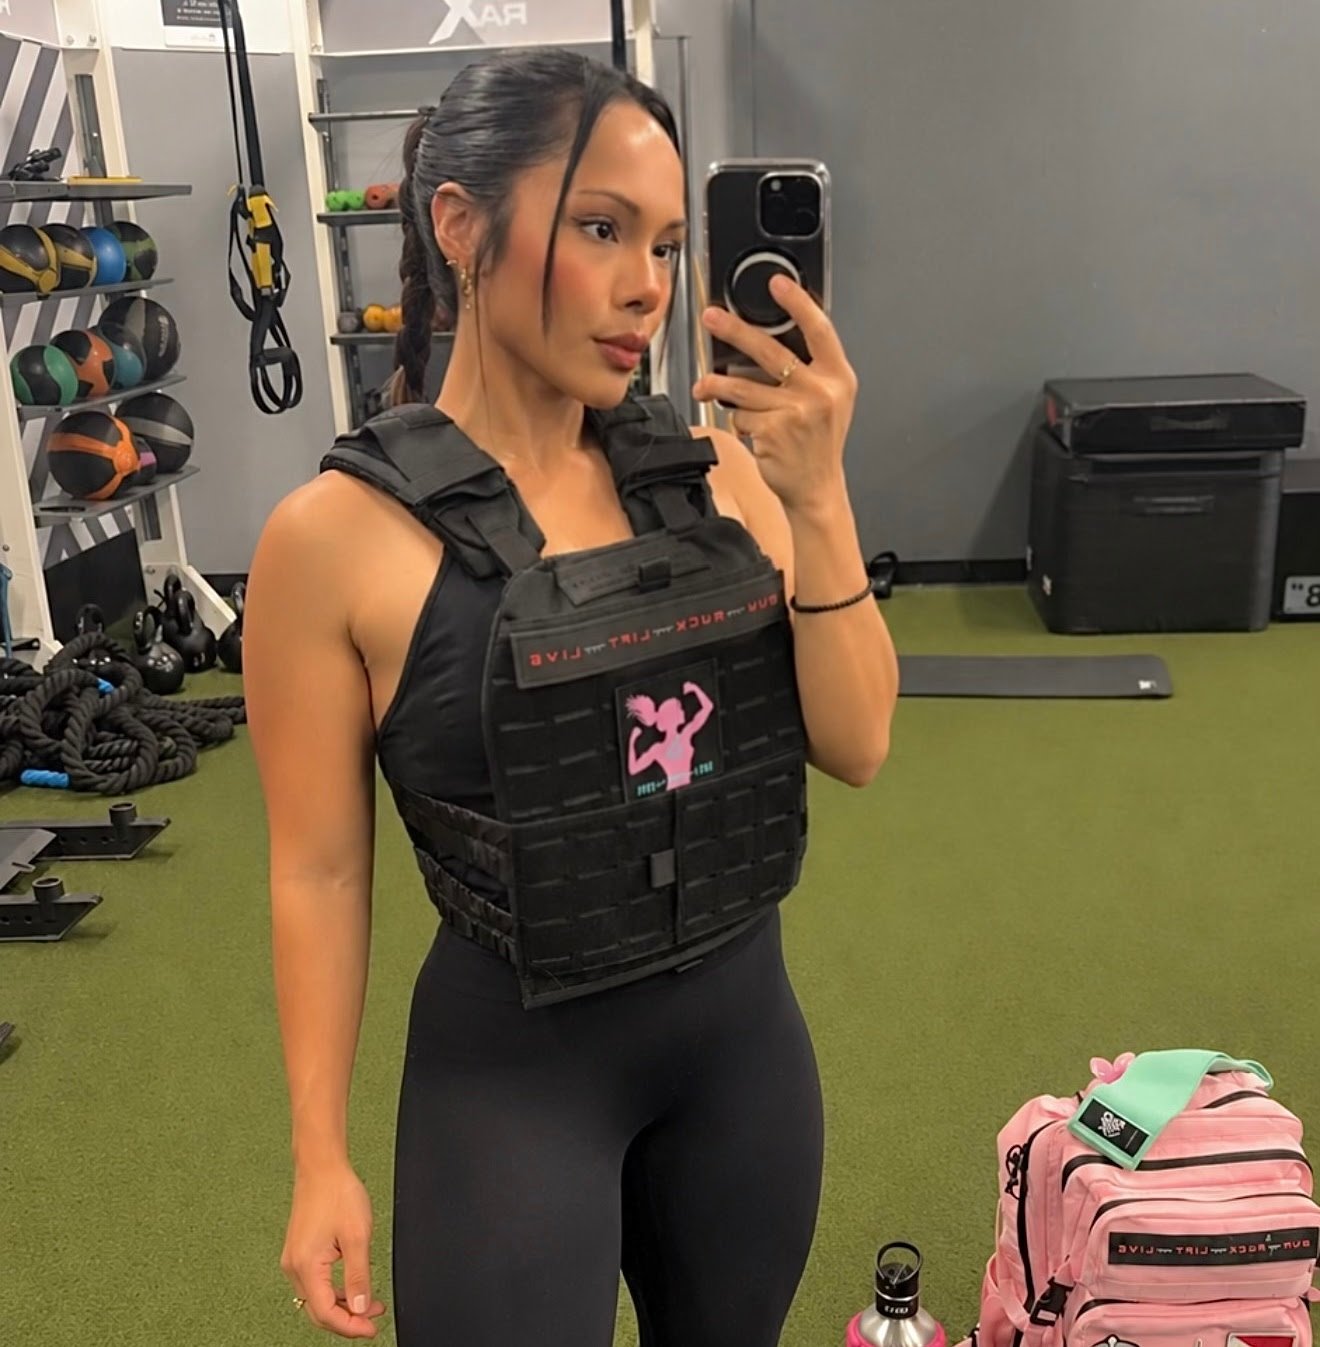
How Often to Run With a Weighted Vest
Start with one or two weighted runs per week, with at least one rest day between them. Recovery is when your body adapts, and the added load makes recovery more important.
Keep the rest of your running unweighted during the early weeks. Gradually increase weighted sessions only when your legs feel fresh the following day and your form holds through the entire run.
Readiness Checks, Warning Signs, and When to Stop
Before each session, ask whether you slept reasonably well, feel no sharp joint pain, and can move without restriction. If the answer is no, walk instead or skip the session.
Stop the run and remove the vest if you notice sharp or localized joint pain in the knees, ankles, or lower back, a change in your stride, or lingering soreness that lasts beyond two days. Watch out: pushing through sharp joint pain with a loaded vest is how short-term progress turns into a long layoff.
Consult a qualified professional if symptoms persist.
Start Your Vest Training With the Right Gear
Your first vest does not need to be the most expensive one, but it should fit well and carry weight securely. Pair it with supportive running shoes. Runners who want an upgrade for treadmill work can compare the XT685 Treadmill and the STAR TRAC 4 Series Treadmill from Directional Force.


Start light, progress slowly, and let your form and recovery set the pace.
Frequently Asked Questions
Should you run with a weighted vest?
Many runners can, but it depends on experience and how the load is introduced. Experts recommend starting with a vest load of roughly 3 to 10 percent of body weight, since jumping to a heavy load overloads the knees, ankles and lower back. Beginners should first build comfort with walking or rucking, keep early runs to around 10 to 15 minutes, and stop if form breaks down or pain appears. If you have an existing joint problem, check with a clinician before adding load.
How much weight should a beginner use in a running vest?
A common starting point is 3 to 10 percent of total body weight, with women often starting at the lower end of a 5 to 10 percent range according to 2026 equipment guides. For a 150-pound runner, that means beginning around 5 to 7 pounds rather than the heavier loads sold in many vests. Add 2 to 5 pounds only every few weeks, and only once the current load feels easy at a snug, evenly distributed fit.
How often should you run with a weighted vest?
Start with one short weighted run per week, then build toward two or three sessions as your body adapts. Keep weighted runs shorter than your unweighted runs at first, and leave unloaded runs in the schedule so your joints recover. Adaptation is driven by the gradual increase in load and duration over several weeks, so spacing sessions with rest days matters more than frequency in the first month.
Can running with a weighted vest cause injury?
It can, mainly when the load rises too quickly or the vest bounces and shifts during the run. Impact forces on the knees, ankles and lower back increase with extra weight, which is why shin splints and joint soreness are the most common complaints. Keep the vest snug with even weight distribution, progress slowly, and stop running in the vest if pain persists beyond normal muscle soreness.
