
Last Updated: November 15, 2026
Quick Summary
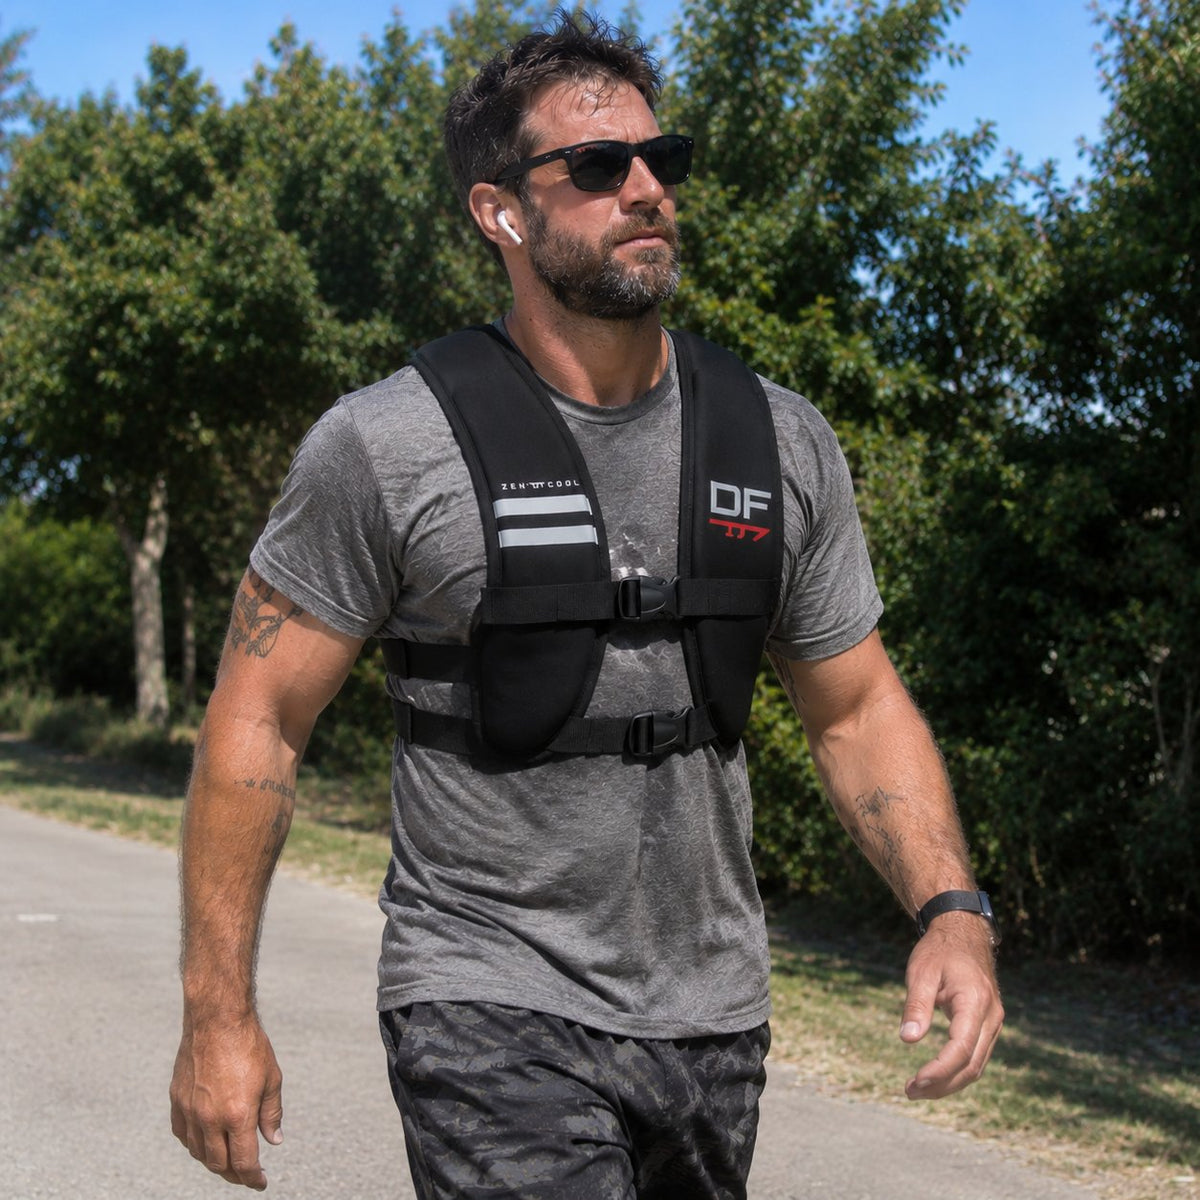
Weighted vest walking adds resistance to a normal walk, raising metabolic cost, relative exercise intensity, and skeletal loading so your body works harder on the same route. A vest around 10% of body mass can improve strength, sit-to-stand performance, and aerobic capacity. Start at 5% to 10% of body weight and build duration before load.
- Start at 15 to 20 minutes, three times per week, and grow duration before load.
- A 180 lb walker starts around 9 to 18 lb, which is 5% to 10% of body weight.
- Add only 2 to 5 lb when posture, breathing, gait, and soreness all stay clean.
- Change one variable per week: add 2-5 lb, a short hill, or five minutes, never all three.
- Weight should sit high and close to your torso, not hang at your waist.
Table of Contents
- What Weighted Vest Walking Actually Does to Your Body
- Stronger Legs, Hips, and Core
- Bone Density and Weight-Bearing Exercise
- Heart Rate, Calorie Burn, and Walking Intensity
- The Pros of Walking With a Weighted Vest
- How Much Weight to Use in a Weighted Vest
- How Long to Walk With a Weighted Vest
- A Weighted Vest Walking Workout for Beginners
- Vest Fit, Terrain, and Pace: The Details That Decide Comfort
- Choosing Gear Built to Carry Load
- Frequently Asked Questions
What Weighted Vest Walking Actually Does to Your Body
Weighted vest walking is the practice of strapping on a fitted load-bearing vest and walking with added resistance.
This guide breaks down what the load does, how much to carry, and how to build a plan you can stick to.
Most guides skip the hard part: the evidence is real but modest, and the load has to match your body.
Stronger Legs, Hips, and Core
Walking with added resistance loads the muscles that carry you: quads, glutes, hamstrings, calves, and the deep core that keeps you upright. A 2026 mini-review in PubMed Central on weighted vest interventions describes vests as adjustable external loading during daily activity, designed to fit into normal movement.
- Leg muscles work harder on every step, push-off, and hill
- Core strength rises because your trunk fights the sway of the load
- Upper-body muscles stay engaged holding posture under weight
The catch: muscle growth needs progression. Same vest, same route, same pace for months gives you maintenance, not change.
Bone Density and Weight-Bearing Exercise
Bone responds to load. Weight-bearing exercise creates the mechanical stress that drives bone remodeling, and a vest adds load without adding impact.
That makes weighted vest walking a practical option for people who want weight-bearing exercise but can't run. Walking pace stays controlled, impact stays low, and load is adjustable.
What most guides miss is the fit variable. A 2026 review in Frontiers in Public Health on weighted vests in older adults notes that gait may change depending on load, fit, and task demands.
Heart Rate, Calorie Burn, and Walking Intensity
Adding load raises energy expenditure. The 2006 PubMed study found weighted walking increased metabolic cost and relative exercise intensity, meaning your heart works harder at the same pace.
- Zone 2 base: keep the load light and the pace conversational for aerobic work
- Heart rate check: if you can't talk in full sentences, the load or pace is too high
- Calorie burn: rises with load, but so does fatigue, so cap session length
Walking intensity is the dial you turn. Load is one way; pace and terrain are the other two.

The Pros of Walking With a Weighted Vest
The pros are real: added resistance, better cardiovascular demand, bone and muscle loading, and no gym required.
How Much Weight to Use in a Weighted Vest
A common starting guideline is 5% to 10% of body weight, which lets you walk with normal posture while your body adapts. A 180 lb walker starts around 9 to 18 lb.
Reading Your Body's Signals Before You Add Load
- Posture stays upright for the full walk
- No sharp knee, hip, or lower-back pain during or after
- Breathing stays controlled at your normal pace
Miss any one and hold the current load another week. Add 2 to 5 lb only when all five stay clean.
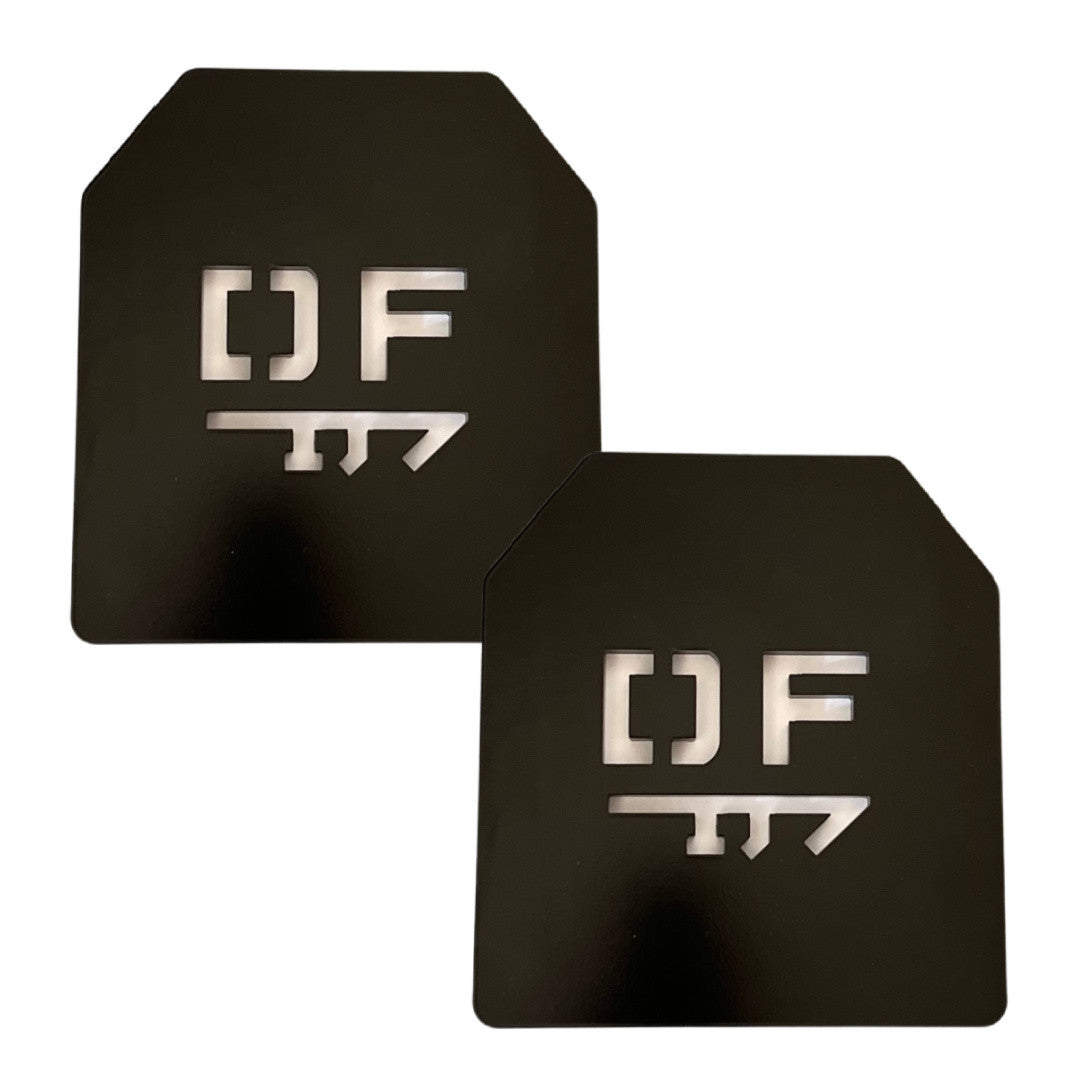
Once the starting range feels easy, plate weight options make progression simple, including a 30 lb vest plate pair for walkers who have built up to heavier loads.
How Long to Walk With a Weighted Vest
Start at 15 to 20 minutes, three times per week. Duration should grow before load does.
But a fixed table only works if your body matches the average. Use the schedule below as a default, then adjust with the decision rules that follow.
Stage |
Duration |
Load |
Frequency |
|---|---|---|---|
Week 1-2 |
15-20 min |
5-8 lb |
3x per week |
Week 3-4 |
25-30 min |
8-12 lb |
3-4x per week |
Week 5-6 |
30-40 min |
12-16 lb |
3-4x per week |
Week 7-8 |
40-45 min |
16-20 lb |
4x per week |
Load
Personalized Progression Rules
Body weight, walking experience, and joint history change the starting point. Use these rules instead of copying the table blindly:
- If you are new to exercise or over 60: start at the low end of Week 1-2 and hold each stage for three weeks instead of two.
- If you already walk 30+ minutes most days: you can start at Week 3 duration but keep the load at 5-8 lb for the first two weeks.
- If you weigh under 130 lb: cap the starting load at 5 lb and add no more than 2 lb per stage.
When to Stop, Scale Back, or Seek Advice
Symptoms are data. Use this stop-or-scale-back guide:
- Sharp joint pain during the walk: stop, remove the vest, and walk unweighted home. Do not resume load until the pain is gone for two consecutive walks.
- Numbness or tingling in the arms, hands, or feet: stop and check vest fit. If it persists without the vest, seek medical advice.
- Unusual breathlessness that does not settle within two minutes of stopping: end the session and consult a clinician before the next weighted walk.
Watch out: the most common mistake is treating a missed checklist item as minor. A single episode of sharp pain or numbness is a signal to scale back, not push through.
Recovery matters as much as the walk. Sore shins, aching lower back, or flat legs the next day mean you went too long or too heavy. Cut duration first, then load.
A Weighted Vest Walking Workout for Beginners
Total time: 30 minutes. Difficulty: beginner.
What you'll need: a fitted vest, supportive shoes, water, and a flat route.
- Warm up unweighted (5 minutes). Walk easy to raise heart rate.
- Put the vest on and check fit (1 minute). Straps snug, load high on the torso, no bounce.
- Walk at a conversational pace (15 minutes). Upright posture, normal stride.
- Add one hill or a pace push (5 minutes). Slight incline or faster cadence.
- Cool down unweighted (4 minutes). Easy pace, then stop and stretch calves and hips.
Expected result: you finish breathing hard but able to talk, with no joint pain. For a fuller plan, follow 7 steps to train with a weight vest at home.
Vest Fit, Terrain, and Pace: The Details That Decide Comfort
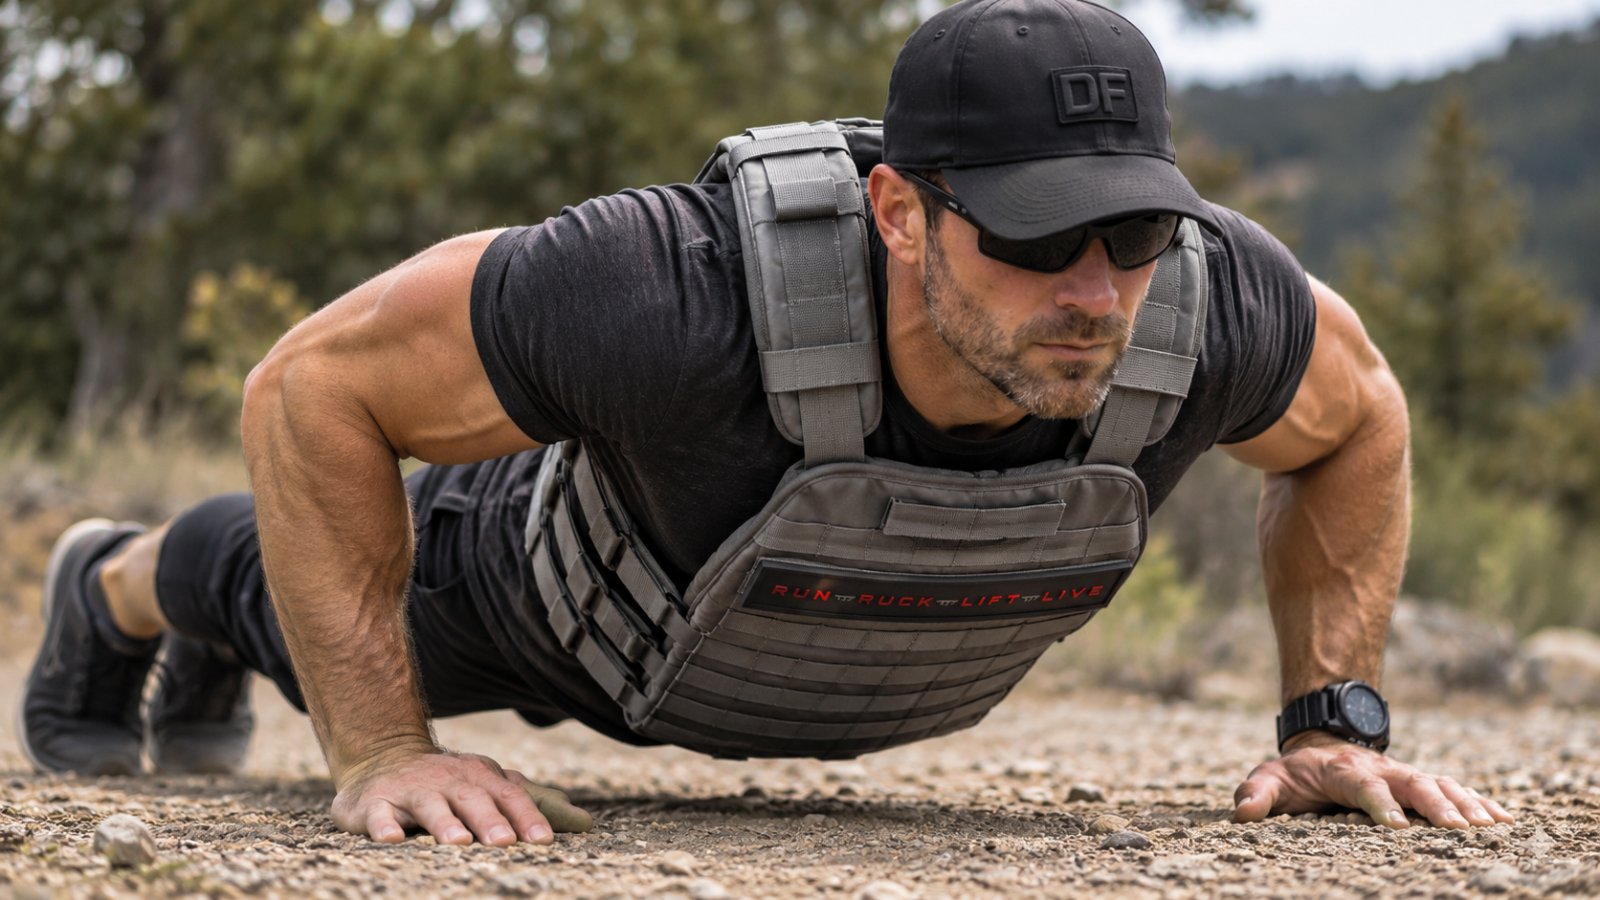
Fit decides everything. Weight should sit high and close to your torso, not hang at your waist. Padded shoulder straps and an adjustable waist system keep the load from shifting, which is exactly what the 2026 review flags as the cause of gait changes.
Terrain and Pace Change the Training Load
Hills, speed, distance, and duration all raise the load, and stacking them too fast is how walkers get hurt. Adjust one variable at a time:
- Pavement: lowest load, shortest sessions, best for beginners. Hardest surface, so cap duration before adding weight.
- Grass or track: softer surface, allows slightly more load or slightly longer sessions.
- Hills: a moderate incline can raise intensity as much as several pounds of vest weight. Add hills before adding plates.
- Pace: faster cadence beats longer strides under load. A quicker step keeps the vest from bouncing and reduces braking forces.
A practical rule: change one variable per week. Add 2 lb and keep route and pace the same; add a hill and keep the load steady.
Warning Signs Tied to Fit and Terrain
Poor fit and aggressive terrain produce predictable symptoms. Use these as stop-or-adjust signals:
- Vest rides up or bounces: stop and tighten the waist strap. If it still moves, the vest is the wrong size or cut for your frame.
- Shoulder or neck ache: the load is sitting too high or the straps are too narrow. Reposition or switch to a vest with wider padding.
- Lower-back ache on hills: the vest is pulling you into a forward lean. Shorten the hill segment or reduce load until posture stays upright.
- Knee or shin soreness after pavement walks: move to a softer surface for two weeks before adding load again.
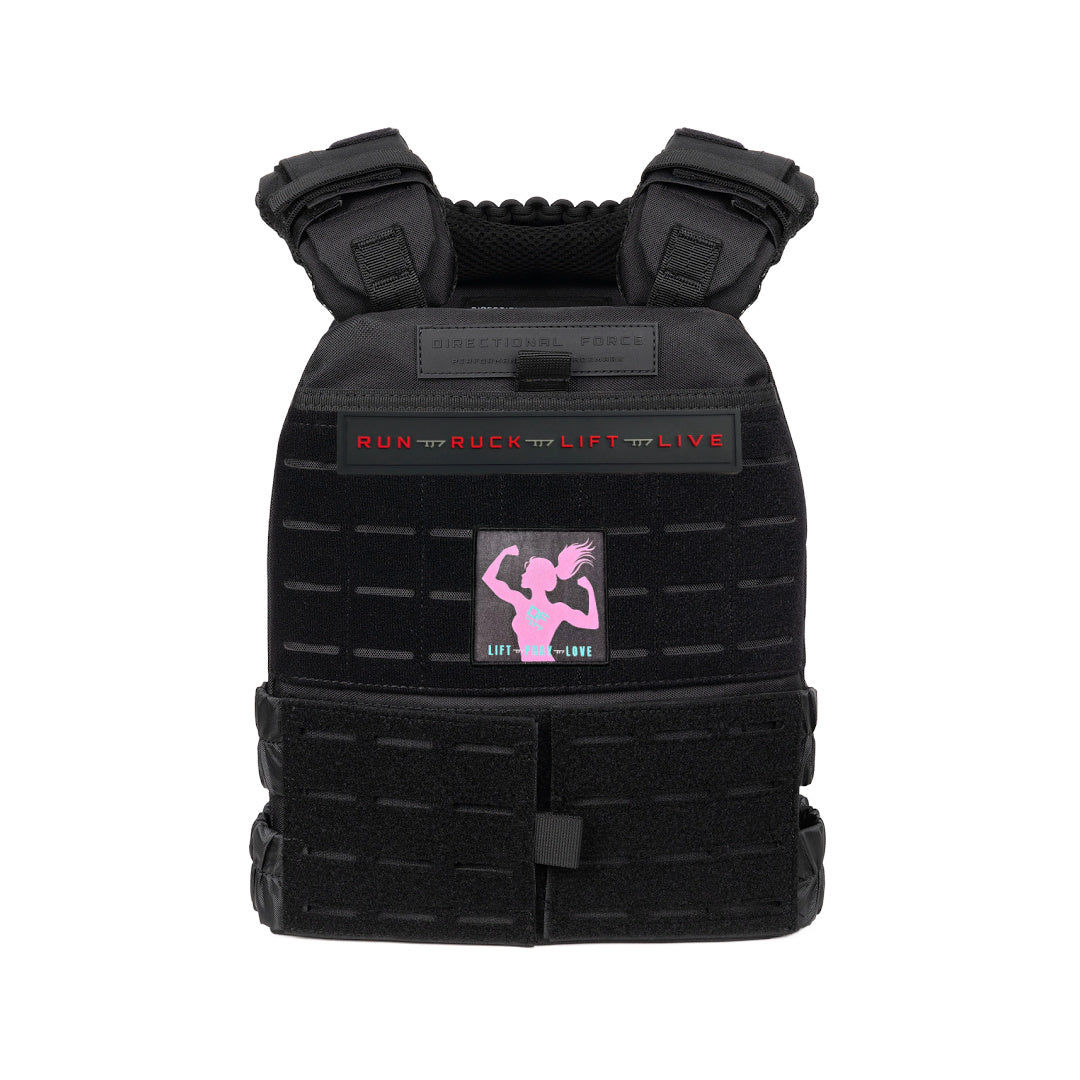
Women often find standard vests sit wrong across the chest and hips. A vest cut for a woman's frame, like the Domina women's weight vest, keeps the load centered instead of pulling forward.
Session Design: Putting Fit, Terrain, and Pace Together
A well-designed session changes one thing at a time. A flat pavement walk at a conversational pace is the baseline. From there, choose one progression per week: add 2-5 lb, add a short hill, or add five minutes.
Watch out: the most common terrain mistake is adding hills and weight in the same week. That doubles the load on your calves and shins without time to adapt.
Choosing Gear Built to Carry Load
Gear choice comes down to three things: how the weight is distributed, how it holds up, and how it feels in motion. Sand-filled and metal-filled vests shift and sag. That movement is what turns a good walk into a back ache.
The Centurion Weight Vest Gen2 is built around a heavy-duty nylon shell, padded shoulder straps, and an adjustable Velcro waist system.
Directional Force builds performance gear for people who train in the field, the gym, and the street.
Walking with load only works if the load matches your body and your week.
Directional Force offers weight vests and American-made plates.
Frequently Asked Questions
Will walking with a weighted vest help lose belly fat?
It can add to the calories you burn, but it will not target belly fat specifically. Fat loss comes from a calorie deficit built over time, and a vest raises the cost of each walk rather than changing where fat comes off. Research on weighted-vest walking shows increased metabolic cost and relative exercise intensity, though the supplied study does not state the size of those increases. Pair vest walks with consistent eating habits and strength training, and treat the vest as one tool in that plan rather than a shortcut.
Should I get a 12 lb or 16 lb weighted vest?
Start with the lighter option unless you already carry load regularly. A common consumer guideline is to begin at 5% to 10% of body weight, so a 12 lb vest suits many adults new to weighted vest walking while a 16 lb vest fits someone with a base of walking fitness or prior rucking experience. The Zen-Cool Cooling Hydrogel Weight Vest comes in 8 lb, 12 lb, and 16 lb versions, which lets you pick a starting weight and move up as your tolerance grows.
Can walking with a weighted vest improve bone health?
Weight-bearing exercise is one of the inputs that supports bone remodeling, and a vest adds load to that stimulus. Research on weighted vests in older adults notes that gait may change with load, fit, and task demands, so build load gradually.
What are the risks of walking with a weighted vest?
The main risks are joint stress, back pain, and changes to your gait when the load is too heavy or the fit is poor. Vest walking can change walking mechanics depending on load, fit, and task demands. Start light, keep the vest snug against your torso, walk on predictable surfaces, and stop if you feel sharp joint pain, numbness, or a limp. Anyone with existing back, hip, or knee issues should check with a physical therapist first.
